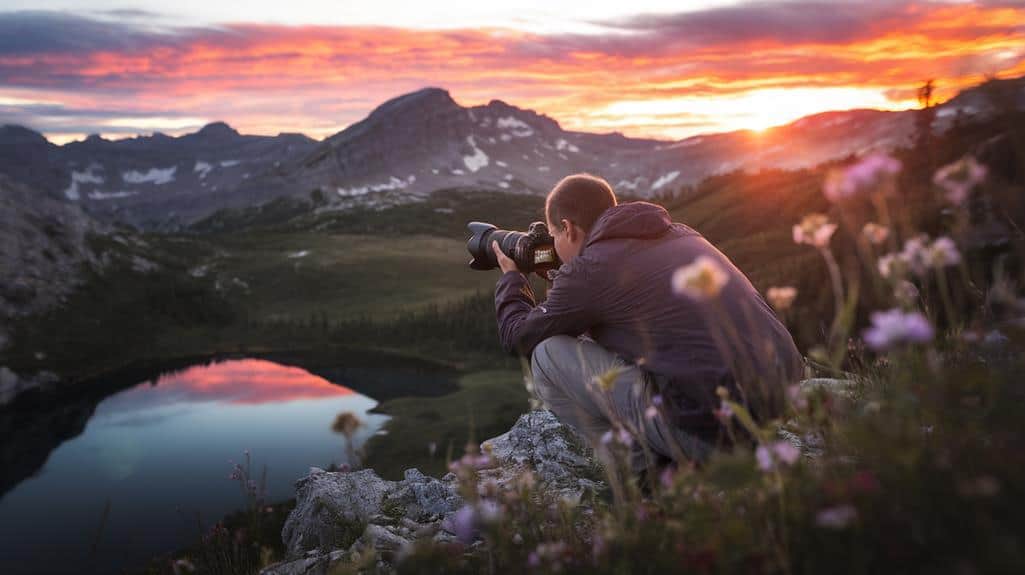
7 Pro Techniques to Elevate Your Travel Photos
To elevate your travel photos, master these seven pro techniques: First, perfect your composition using the rule of thirds and leading lines. Second, harness the golden hour's warm light for stunning landscapes. Third, experiment with long exposures to capture motion and create ethereal effects. Fourth, refine your post-processing workflow to enhance colors and details. Fifth, seek out authentic local moments to tell compelling stories. Sixth, embrace negative space to create visually striking images. Finally, develop a consistent editing style that sets your work apart. By implementing these advanced methods, you'll transform your travel photography from ordinary to extraordinary. Dive deeper to access the full potential of each technique.
In a Nutshell
- Master composition using the rule of thirds, leading lines, and natural frames to create visually compelling images.
- Utilize golden hour lighting shortly after sunrise or before sunset for warm, flattering illumination.
- Experiment with long exposures to capture silky-smooth waterfalls or light trails, using a sturdy tripod for stability.
- Perfect your post-processing workflow, including monitor calibration, RAW file editing, and selective adjustments.
- Capture authentic local moments by engaging respectfully with locals and photographing daily routines and rituals.
Master Composition and Framing
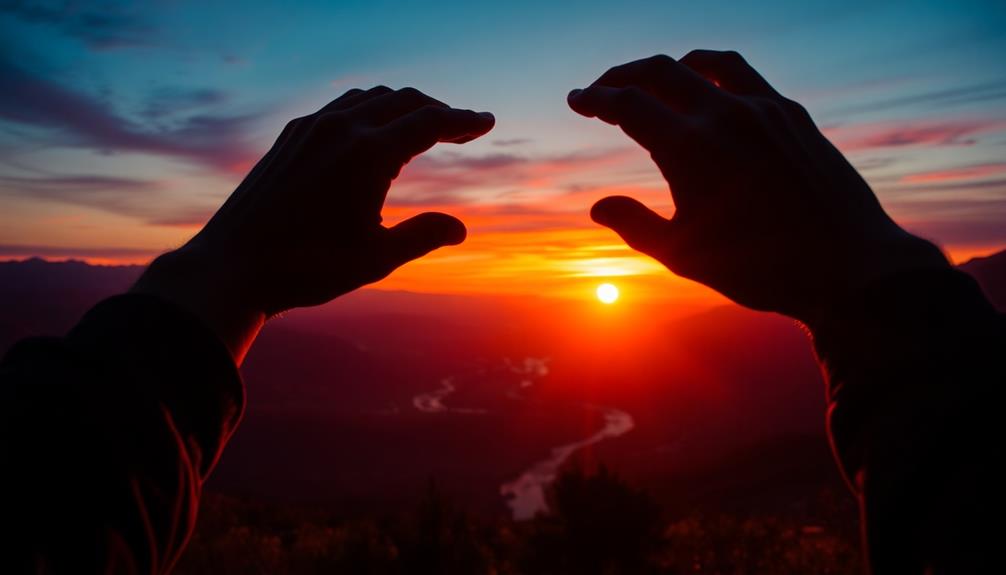
When mastering composition and framing, you'll need to train your eye to see the world as a series of potential photographs. Start by understanding the rule of thirds, which divides your frame into a 3×3 grid. Place key elements along these lines or at their intersections for balanced, visually appealing shots. Pay attention to leading lines, such as roads or rivers, that can guide the viewer's eye through your image. Consider the foreground, middle ground, and background to create depth in your photos. Use natural frames, like archways or tree branches, to draw focus to your subject. Modern travel cameras often feature versatile shooting modes and creative filters to enhance your composition options. Experiment with different perspectives by getting low to the ground or finding elevated vantage points. Always be mindful of your horizon line, keeping it straight unless you're intentionally tilting for creative effect. Remember, these rules are guidelines; don't be afraid to break them for artistic impact.
Utilize Golden Hour Lighting
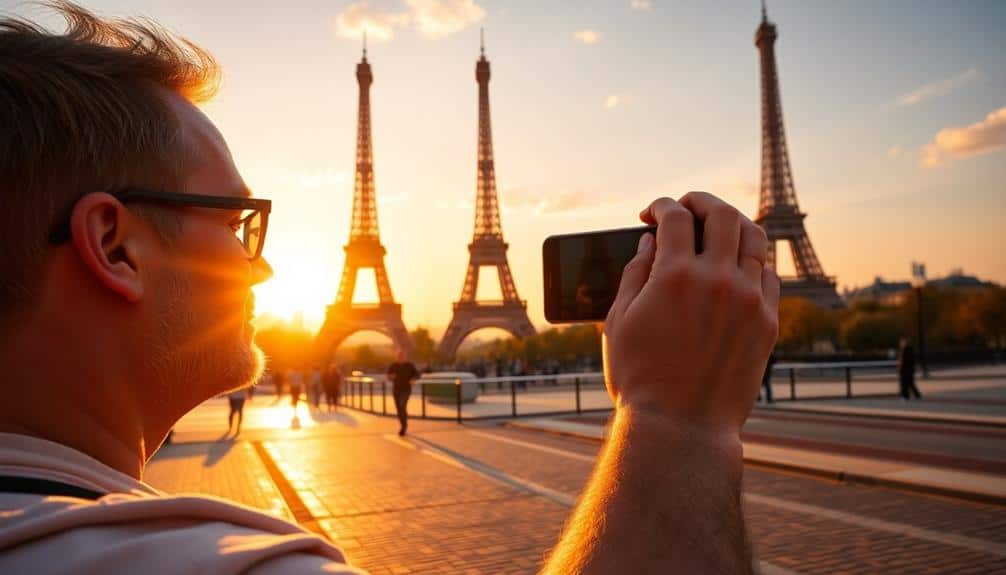
While mastering composition sets the stage for great travel photos, lighting can transform an ordinary scene into something extraordinary. The golden hour, occurring shortly after sunrise and before sunset, offers photographers unparalleled opportunities to capture stunning images. During this time, the sun's low angle casts warm, soft light that enhances colors and creates long, dramatic shadows. To maximize golden hour shots, you'll want to scout locations in advance and arrive early to set up your equipment. Using a lightweight travel tripod with a 360-degree ball head allows for versatile camera positioning and stability in low-light conditions. Experiment with various white balance settings to accentuate the warm tones. Consider using graduated neutral density filters to balance exposure between bright skies and darker foregrounds. Don't forget to shoot in RAW format, allowing for greater flexibility in post-processing to fine-tune the golden hour's magical glow.
Experiment With Long Exposures
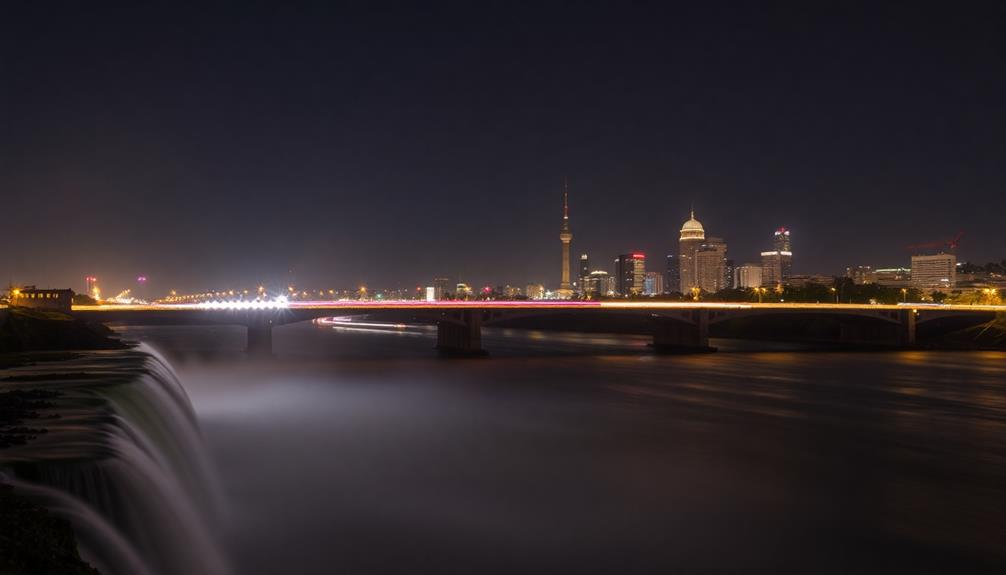
Diving into long exposure photography opens up a world of creative possibilities for your travel shots. You'll need a sturdy tripod and a neutral density filter to achieve the best results. Travel tripods are essential for capturing unforgettable moments, especially when experimenting with long exposures. Invest in a lightweight yet stable tripod to guarantee sharp images during extended shutter speeds. Start by setting your camera to manual mode and selecting a low ISO, typically 100 or 200. Choose a small aperture, like f/11 or f/16, to maximize depth of field. Experiment with shutter speeds ranging from 1 second to several minutes, depending on the effect you're after. For silky-smooth waterfalls or misty seascapes, try exposures between 1 and 30 seconds. To capture light trails from moving vehicles or star trails in the night sky, extend your exposure time to several minutes. Remember to use your camera's self-timer or a remote shutter release to avoid camera shake. Post-processing can help fine-tune your long exposure images, adjusting contrast and sharpness as needed.
Perfect Your Post-Processing Workflow
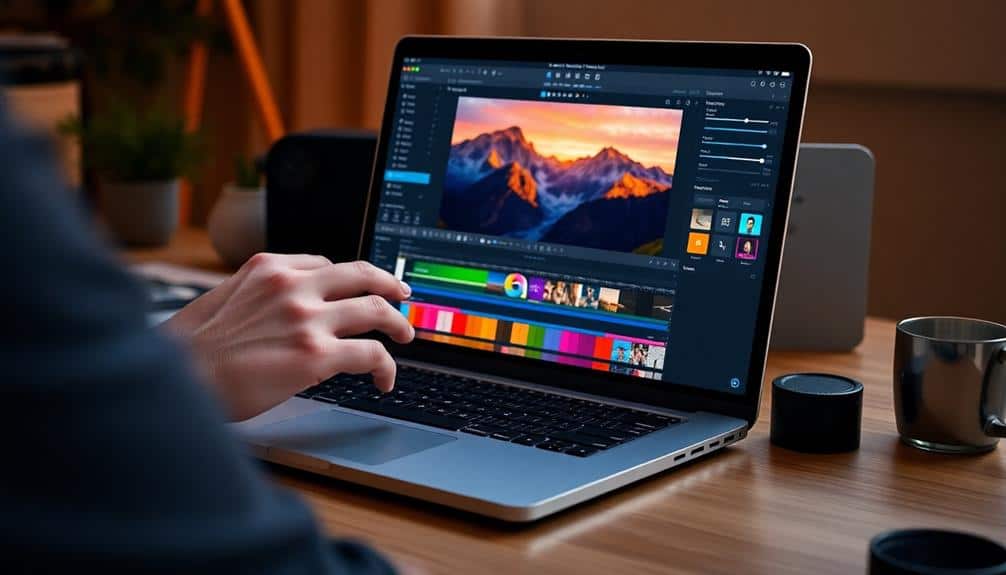
After capturing stunning long exposures, it's time to enhance your images through post-processing. Develop a consistent workflow that includes importing, organizing, and editing your photos. Start by calibrating your monitor to guarantee accurate color representation. Use RAW files for maximum flexibility, adjusting exposure, white balance, and contrast as needed. Apply lens corrections to minimize distortion and chromatic aberration. Utilize selective adjustments to enhance specific areas of your images, such as dodging and burning techniques to draw attention to key elements. Experiment with color grading to create a cohesive look across your travel series. Finally, sharpen your images appropriately for their intended output, whether for print or digital display. Remember to save your edits non-destructively, allowing for future adjustments. With practice, you'll streamline your workflow and achieve consistently professional results.
Capture Authentic Local Moments
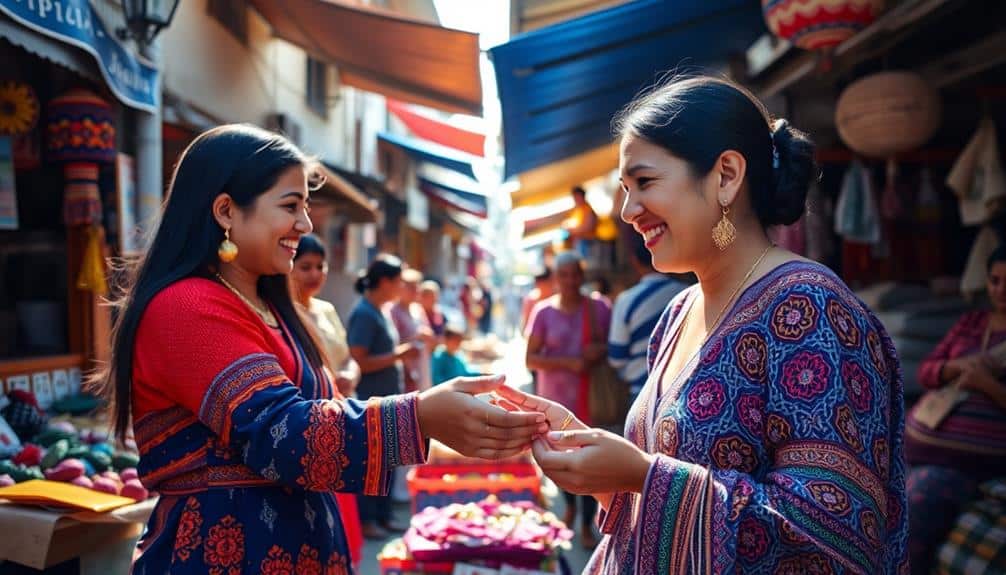
In order to capture authentic local moments, you'll need to step off the beaten path and immerse yourself in the daily lives of your destination's residents. Seek out bustling markets, local eateries, and community gathering spots where genuine interactions unfold. Arrive early or stay late to observe daily routines and rituals that tourists often miss. Engage with locals respectfully, asking permission before photographing individuals or private spaces.
Use a wide-angle lens to capture environmental portraits that showcase both the subject and their surroundings. Experiment with various compositions, including candid shots and posed portraits, to tell a detailed story. Pay attention to lighting conditions, utilizing natural light whenever possible to maintain authenticity. Be patient and observant, waiting for decisive moments that reveal the essence of local life. Remember to balance your desire for striking images with respect for the community's privacy and cultural sensitivities.
Embrace Negative Space
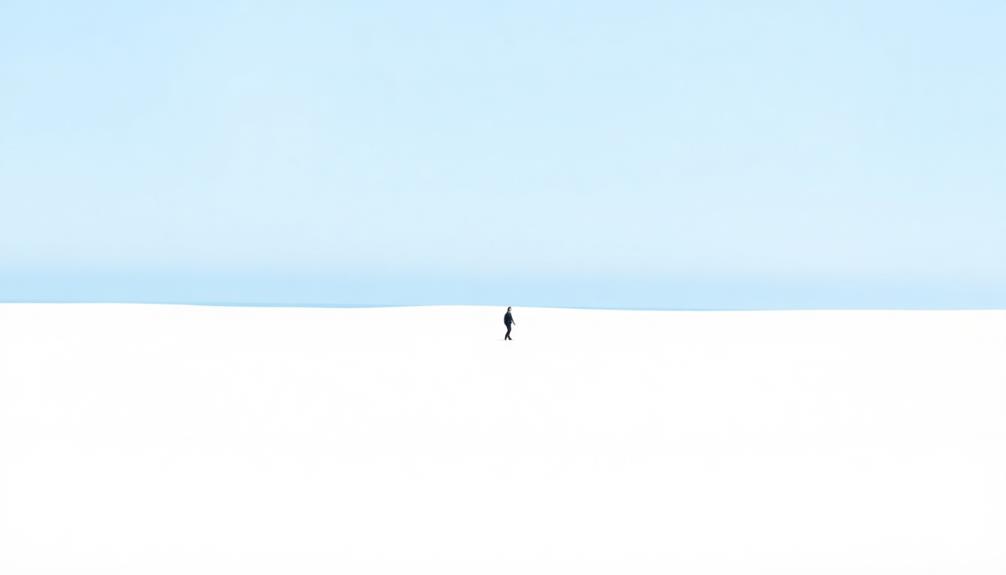
Negative space, often overlooked in travel photography, can be a powerful tool for creating striking compositions. By deliberately incorporating empty areas around your subject, you'll draw attention to the main focal point and create a sense of balance. When framing your shots, look for opportunities to use negative space effectively:
- Position your subject off-center, leaving ample empty space on one side
- Utilize expansive skies or bodies of water as negative space
- Frame your subject with architectural elements or natural surroundings
- Experiment with minimalist compositions, emphasizing a single subject
Develop a Consistent Editing Style
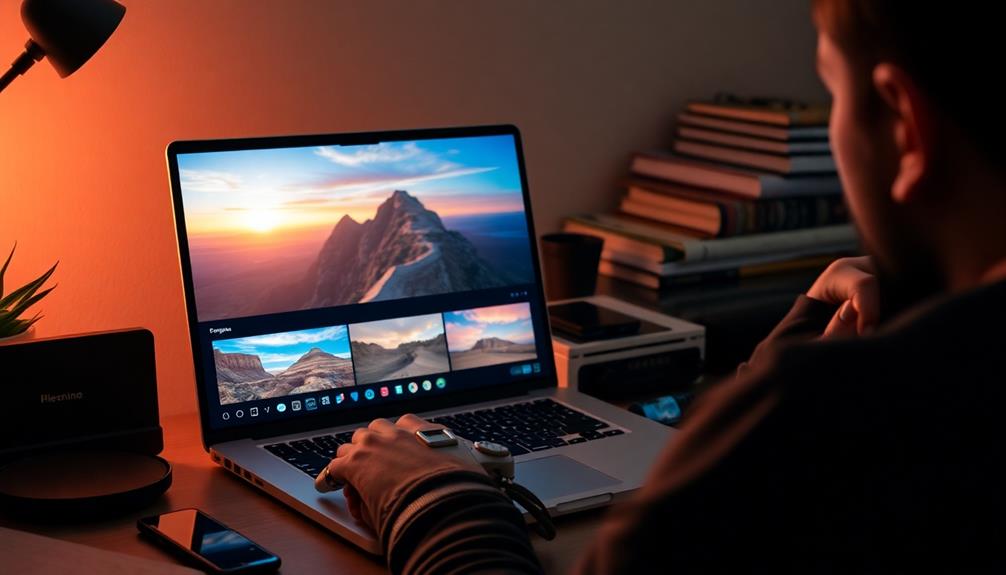
While mastering composition techniques enhances your travel photos, developing a consistent editing style can take your images to the next level. Start by selecting a preset or creating your own that complements your photography style and the destinations you frequently visit. Adjust parameters like exposure, contrast, and color temperature to achieve a cohesive look across your portfolio. Experiment with different editing software, such as Adobe Lightroom or Capture One, to find the tools that best suit your needs. Pay attention to how you handle highlights and shadows, as these can dramatically impact the mood of your images. Develop a signature color palette that resonates with your brand and consistently apply it to your photos. Remember to maintain a balance between enhancing your images and preserving their authenticity, ensuring that your edits don't overshadow the natural beauty of the locations you've captured.
Frequently Asked Questions
What Essential Camera Gear Should I Pack for Travel Photography?
When packing for travel photography, you'll want to include a versatile camera body and a range of lenses to capture diverse scenes. Don't forget a sturdy tripod for low-light shots and long exposures. Pack extra batteries, memory cards, and a reliable backup storage solution. A quality camera bag is essential for protection and organization. Consider bringing filters, a remote shutter release, and a lightweight flash for creative control. Finally, pack a lens cleaning kit to maintain your gear's performance throughout your trip.
How Can I Protect My Camera Equipment in Challenging Weather Conditions?
Like a knight protects their armor, you must shield your camera gear from the elements. Invest in a high-quality, weather-resistant camera bag with padded compartments and waterproof zippers. Use silica gel packets to absorb moisture, and carry a microfiber cloth to wipe away condensation. In extreme conditions, employ rain covers or underwater housings. Always acclimate your equipment gradually when moving between temperature extremes to prevent internal fogging. Consider weather-sealed lenses and cameras for added protection against dust and moisture.
What's the Best Way to Approach and Photograph Locals Respectfully?
When photographing locals, respect is paramount. Always ask for permission before taking someone's picture, and be prepared to accept a refusal gracefully. Learn a few phrases in the local language to help you communicate your intentions. Offer to share the photos or send prints later if possible. Be mindful of cultural sensitivities and dress codes, and avoid photographing religious ceremonies or private moments without explicit consent. Engage in conversation to build rapport and capture more authentic, relaxed portraits.
Are There Legal Restrictions on Photographing Certain Landmarks or Locations While Traveling?
When it comes to snapping shots around the world, you'll need to keep your eyes peeled for legal restrictions. Many countries have laws governing photography of military installations, government buildings, and certain cultural sites. You'll often find restrictions at museums, temples, and private properties. It is essential to research local laws before your trip, respect posted signs, and always ask for permission when in doubt. Failure to comply can result in fines, confiscation of equipment, or even legal trouble.
How Can I Back up My Photos Securely While on the Road?
To securely back up your photos while traveling, you'll want to employ multiple methods. Use a portable external hard drive to create physical copies, and leverage cloud storage services like Google Photos or iCloud for remote backups. Consider investing in a rugged, waterproof drive for added protection. Don't forget to use your camera's dual memory card slots, if available, for real-time backups. Additionally, utilize hotel Wi-Fi or local SIM cards to regularly sync your photos to the cloud, ensuring your memories are safely preserved.
