10 Tips for Stunning Travel Photos in Bad Weather
Don't let bad weather dampen your travel photography spirits. Instead, embrace the moody atmosphere and use it to your advantage. Protect your gear with weatherproof covers and silica gel packets, then experiment with rain photography techniques like fast shutter speeds to freeze droplets. Capture reflections in puddles for unique compositions, and utilize fog for dramatic effect. Find shelter for interesting perspectives, and incorporate weather-appropriate props to add context. Play with light and shadows, and master post-processing techniques to enhance atmospheric images. By following these tips, you'll transform challenging conditions into opportunities for stunning, one-of-a-kind shots that stand out from typical sunny-day photos.
In a Nutshell
- Embrace the moody atmosphere by utilizing soft, diffused light and experimenting with long exposures to capture motion.
- Protect your camera gear with weatherproof cases, rain covers, and silica gel packets to absorb excess humidity.
- Capture reflections in puddles by positioning the camera low and using a wide-angle lens for engaging compositions.
- Incorporate weather-appropriate props like umbrellas or raincoats to add context and visual interest to your shots.
- Adjust post-processing techniques to enhance the atmospheric qualities of bad weather, such as manipulating contrast and color temperature.
Embrace the Moody Atmosphere
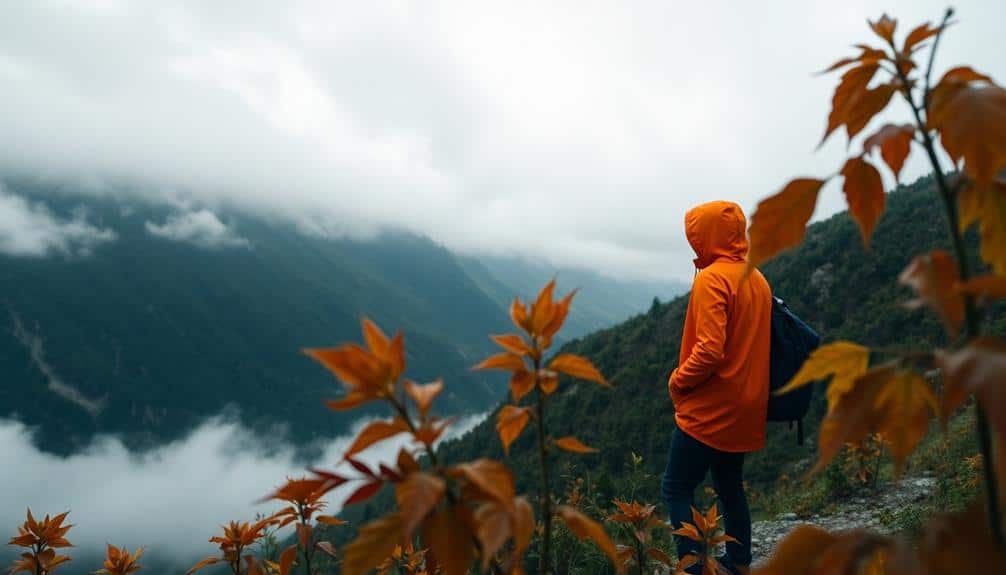
Don't shy away from the gloom; instead, lean into the moody atmosphere that bad weather creates. Overcast skies and rain can produce dramatic, evocative images that capture the essence of your travel experience. Utilize the soft, diffused light to your advantage, as it eliminates harsh shadows and creates a more even exposure. Experiment with long exposures to capture the motion of raindrops or swirling clouds, using a tripod for stability. Look for reflections in puddles or wet surfaces, which can add depth and interest to your compositions. To protect your camera gear in wet conditions, consider using a waterproof dry bag designed for outdoor activities. These bags offer excellent protection against the elements while allowing easy access to your equipment. Pay attention to the textures that emerge in inclement weather, such as raindrops on leaves or mist clinging to buildings. Consider using a polarizing filter to reduce glare and enhance color saturation in wet conditions. Remember, bad weather often results in fewer tourists, allowing you to capture iconic locations with a unique, solitary feel.
Master Rain Photography Techniques
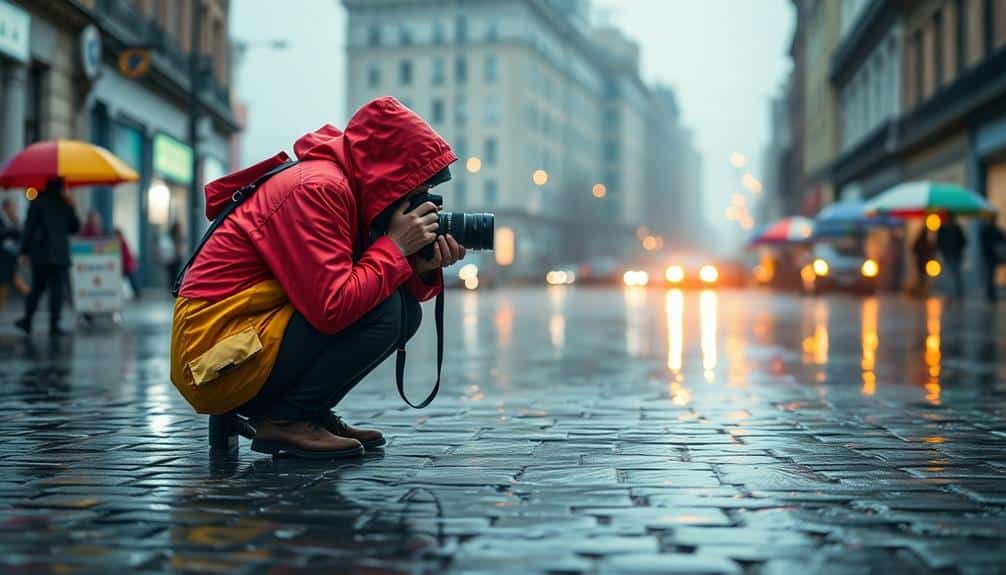
While embracing the moody atmosphere can yield enthralling images, mastering specific rain photography techniques will elevate your shots to the next level. Start by investing in weather-sealed equipment to protect your gear from moisture. For ultimate durability, consider cameras waterproof up to 15 meters and shockproof for drops up to 2 meters. Use a fast shutter speed, typically 1/250 or higher, to freeze raindrops mid-air. Alternatively, experiment with slower speeds to create streaking effects. Adjust your aperture to control the depth of field, considering that raindrops closer to the lens will appear larger. Incorporate artificial lighting, such as off-camera flash, to illuminate falling rain and create dramatic highlights. Don't forget to protect your lens from water droplets by using a lens hood or umbrella. Finally, look for reflective surfaces like puddles or wet pavement to add interest and depth to your compositions. With these techniques, you'll capture stunning rain-soaked images that truly stand out.
Protect Your Camera Gear
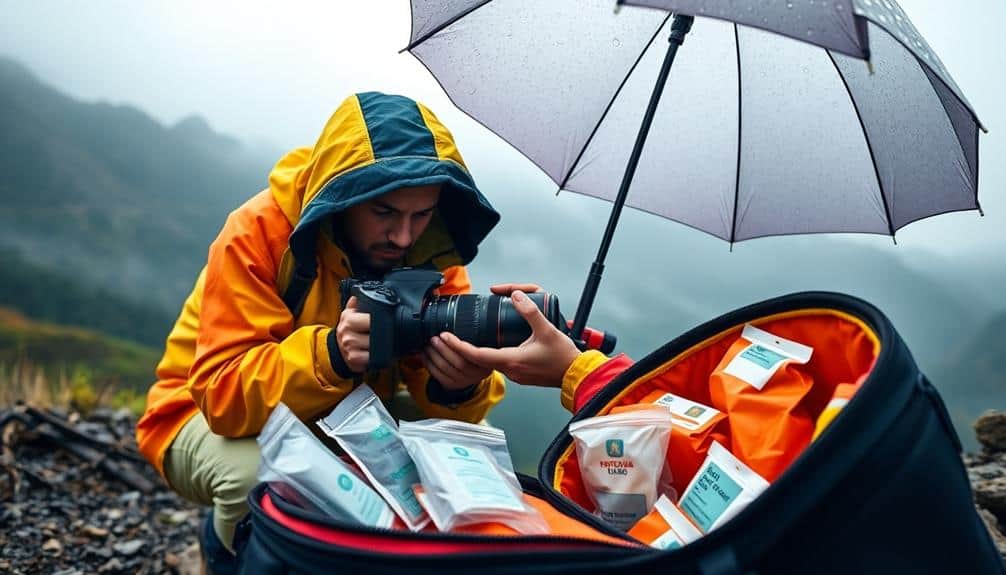
Safeguarding your camera equipment is essential when shooting in adverse weather conditions. To protect your gear from moisture, dust, and other elements, invest in weatherproof cases and covers designed specifically for your camera model. Consider using silica gel packets inside your camera bag to absorb excess humidity, which can cause damage to sensitive electronic components. When traveling, it's also wise to include some basic first aid essentials in your camera bag, as remote shooting locations may lack immediate access to medical supplies.
When shooting in challenging environments, follow these crucial steps:
- Use a waterproof rain cover or plastic bag to shield your camera body and lens
- Apply lens filters to protect the front element from water droplets and debris
- Keep spare batteries warm and dry in a sealed, insulated container
- Clean and dry your equipment thoroughly after each use, paying special attention to connection points and battery compartments
Capture Reflections in Puddles
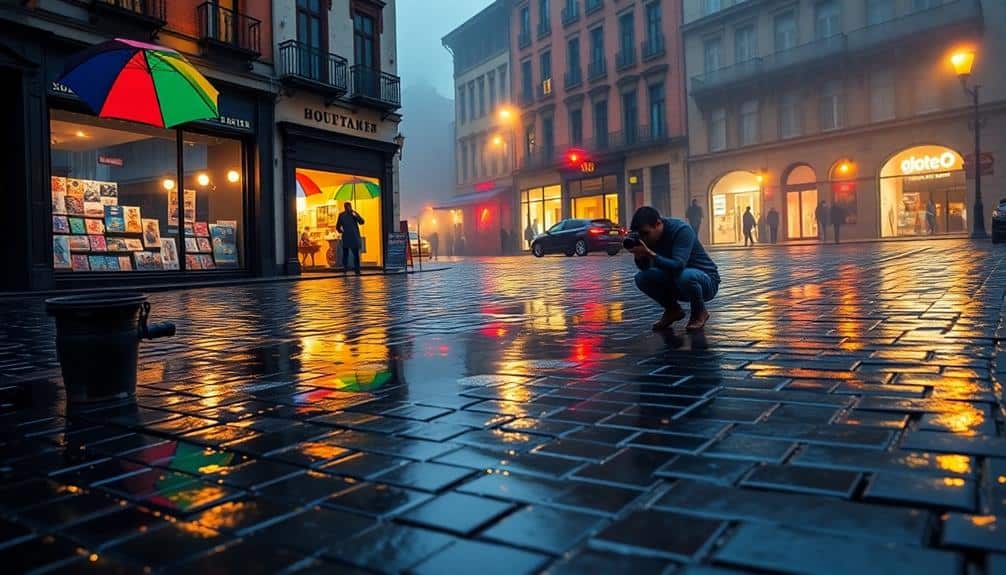
Numerous photographers overlook the creative potential of rainy weather. Puddles, in particular, offer unique opportunities for capturing stunning reflections. To make the most of these watery mirrors, position yourself low to the ground, ideally using a wide-angle lens for a broader perspective. Experiment with different angles to find the most engaging composition, incorporating architectural elements, streetlights, or colorful umbrellas in the reflection. For sharper images, use a tripod to stabilize your camera and increase the aperture for greater depth of field. Consider using a circular polarizing filter to control glare and enhance the reflection's visibility. In post-processing, adjust contrast and saturation to make the reflected image stand out. Don't forget to clean your lens frequently, as water droplets can interfere with image quality. With practice, you'll transform dreary days into compelling visual stories.
Use Fog for Dramatic Effect
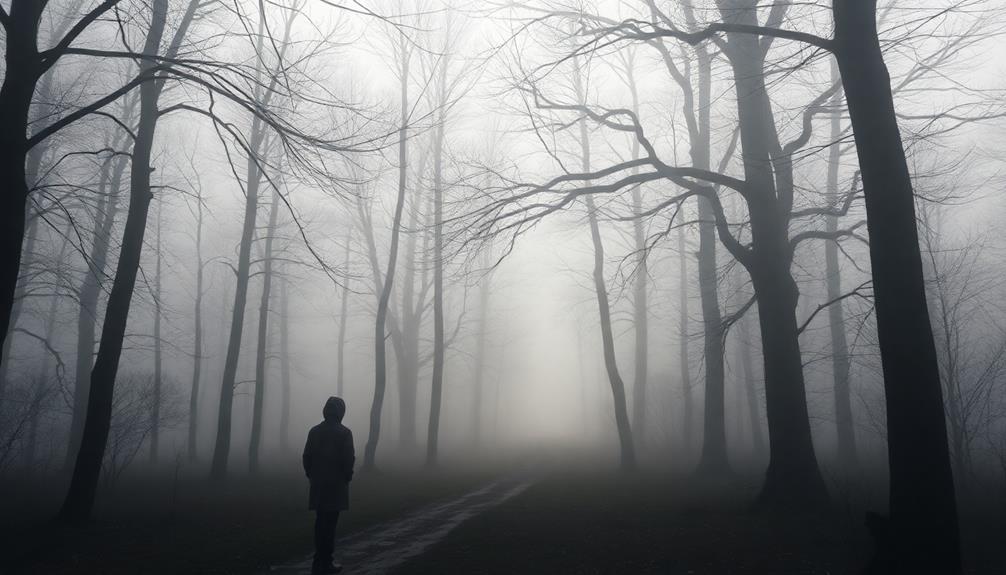
Fog can transform ordinary scenes into ethereal landscapes, offering photographers a unique canvas for creative expression. To safeguard fog's dramatic potential, consider these techniques:
- Shoot during the golden hour for added atmosphere
- Use a telephoto lens to compress layers of fog
- Incorporate silhouettes for contrast and depth
- Experiment with long exposures to create moody effects
When capturing foggy scenes, pay attention to composition and depth. Utilize foreground elements to anchor your images and create a sense of scale. Adjust your camera settings to compensate for the reduced contrast in foggy conditions. Increase exposure slightly and consider using spot metering to guarantee proper exposure of your main subject. Don't forget to protect your gear from moisture by using a rain cover or keeping a microfiber cloth handy to wipe your lens. With these strategies, you'll be able to create stunning, atmospheric images that capture the essence of foggy landscapes.
Experiment With Long Exposures
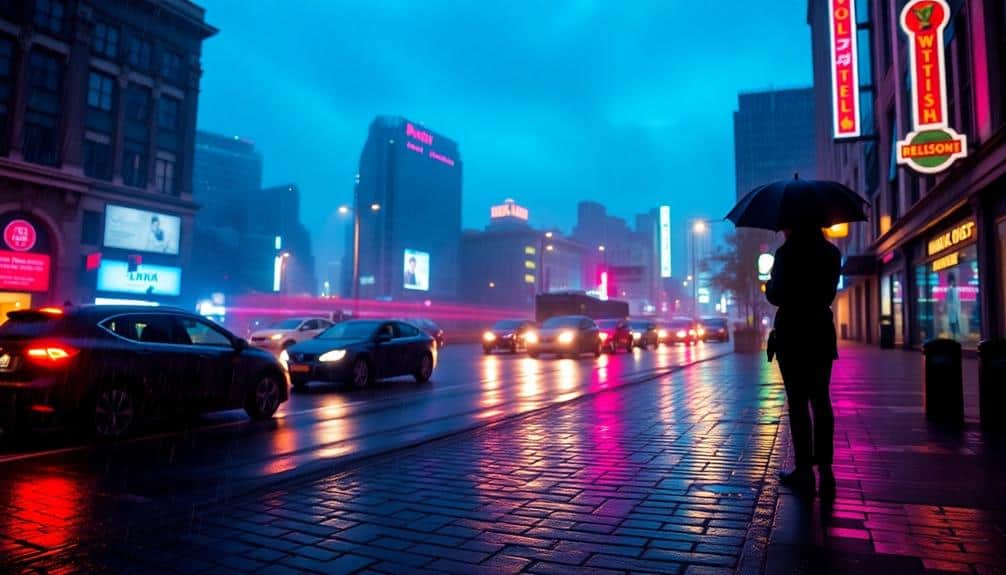
Long exposures can transform dreary weather into mesmerizing images. When faced with rain or stormy conditions, try using slower shutter speeds to capture the movement of water droplets or create ethereal effects with clouds. You'll need a tripod to keep your camera steady during these longer exposures, typically ranging from 1 to 30 seconds. Experiment with different shutter speeds to achieve various effects, such as silky-smooth waterfalls or streaking car lights in urban scenes. To prevent overexposure, use a neutral density filter, which reduces the amount of light entering your lens. In low-light situations, consider increasing your ISO slightly to maintain image quality without extending the exposure time excessively. Remember to protect your gear from moisture using weather-sealed equipment or rain covers. With practice, you'll master the art of turning challenging weather conditions into stunning, dynamic photographs that capture the essence of your travels.
Find Shelter for Unique Perspectives
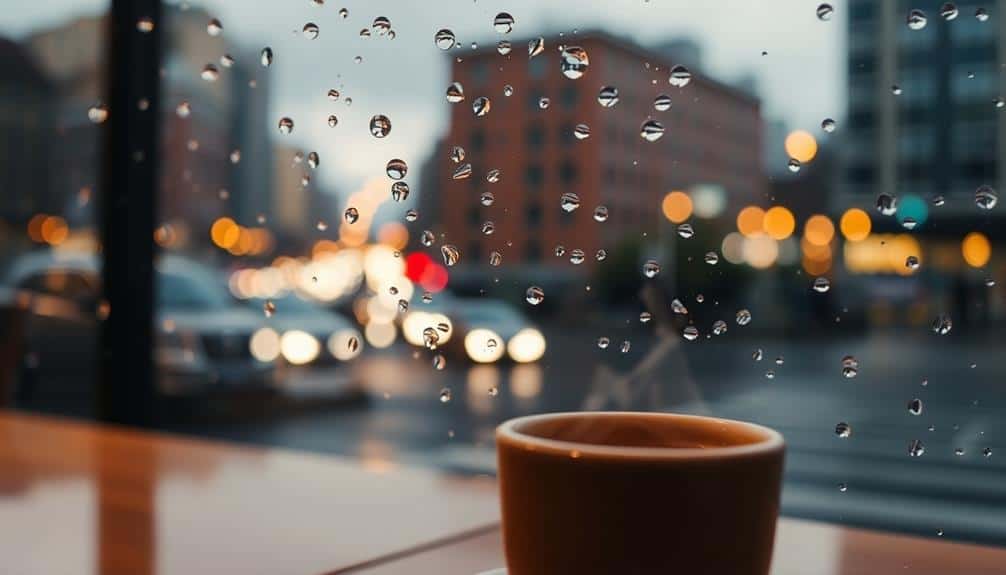
Seeking shelter during inclement weather doesn't mean you have to stop shooting. In fact, finding cover can offer unique perspectives and creative opportunities for your travel photography. Utilize covered areas like archways, awnings, or building overhangs to frame your shots and protect your gear. These vantage points can provide interesting foreground elements and lead-in lines, enhancing your composition.
Consider the following sheltered locations for distinctive photo opportunities:
- Glass-enclosed skywalks or bridges
- Covered markets or bazaars
- Historic arcades or colonnades
- Train stations or bus terminals
When shooting from shelter, pay attention to lighting contrasts between your covered position and the outdoor scene. Adjust your camera settings to properly expose for both areas, or use HDR techniques if necessary. Experiment with different focal lengths to capture both wide-angle views and detailed close-ups of weather elements, like raindrops or fog, from your protected vantage point.
Incorporate Weather-Appropriate Props
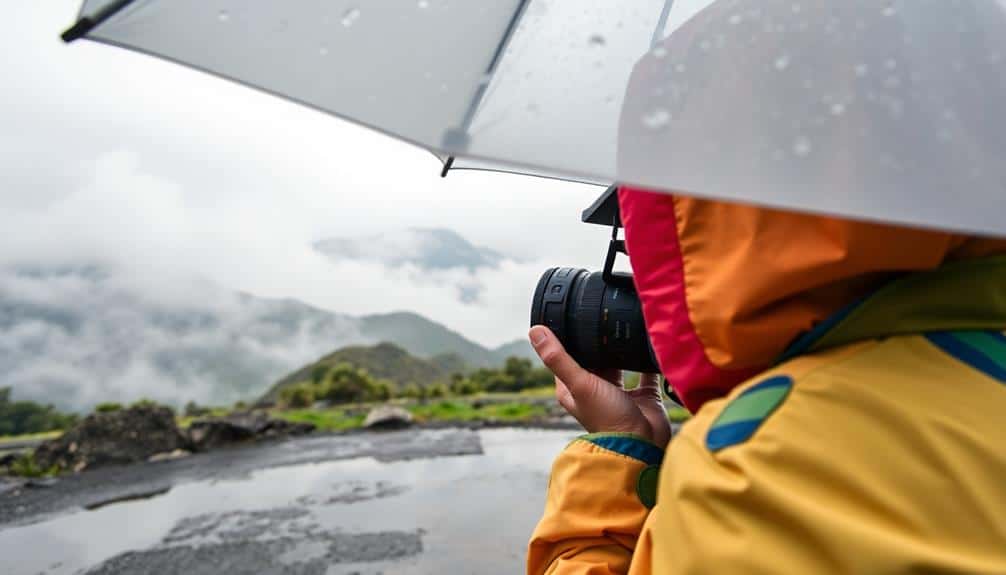
Incorporating weather-appropriate props can add interest and context to your travel photos during inclement conditions. Consider using colorful umbrellas, raincoats, or rubber boots to create eye-catching focal points against dreary backgrounds. Clear umbrellas can frame subjects while allowing light to pass through, creating unique compositions. For snowy scenes, introduce sleds, skis, or snowshoes to convey a sense of adventure and seasonal activities.
When shooting in fog or mist, lanterns or flashlights can create atmospheric lighting effects, enhancing the mood of your images. In windy conditions, utilize kites, flags, or billowing fabric to capture dynamic movement. Remember to choose props that complement your surroundings and tell a story about the location and weather. By thoughtfully selecting and positioning these elements, you'll elevate your travel photography, transforming challenging weather into opportunities for distinctive and memorable shots.
Play With Light and Shadows
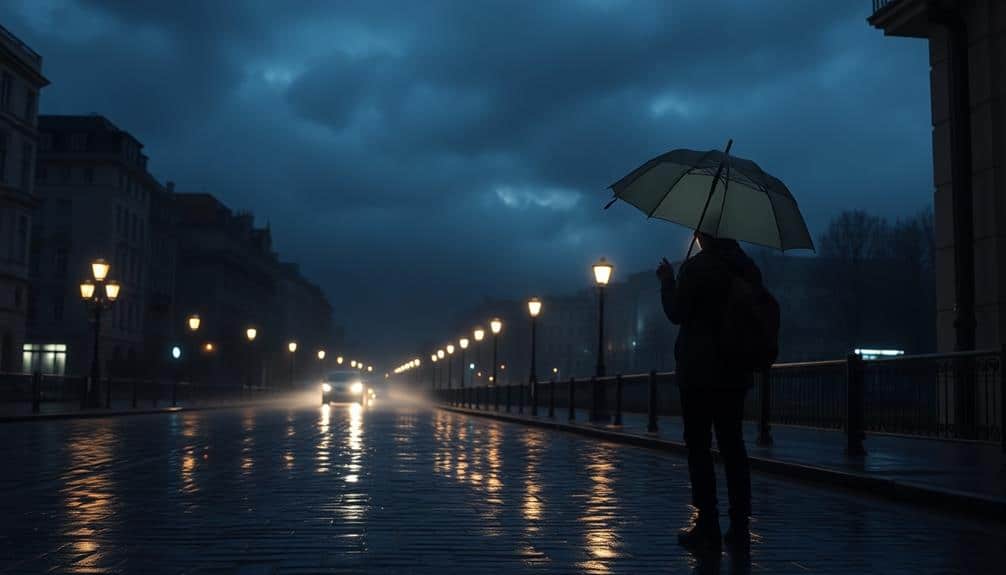
Despite challenging weather conditions, playing with light and shadows can transform your travel photos into enthralling works of art. Utilize the interplay between light and darkness to create depth, drama, and intrigue in your images. Embrace the unique lighting conditions that bad weather offers, such as the soft, diffused light of overcast days or the dramatic contrasts during stormy skies.
To effectively play with light and shadows in your travel photography:
- Look for interesting patterns created by shadows on buildings or landscapes
- Use backlighting to create silhouettes against dramatic skies
- Capture reflections in puddles or wet surfaces to add dimension
- Experiment with long exposures to blur moving clouds or rain
Pay attention to the direction and quality of light, adjusting your camera settings accordingly. Don't be afraid to push the boundaries of exposure, using techniques like high dynamic range (HDR) to capture a wider range of tones in challenging lighting situations.
Post-Processing for Atmospheric Images
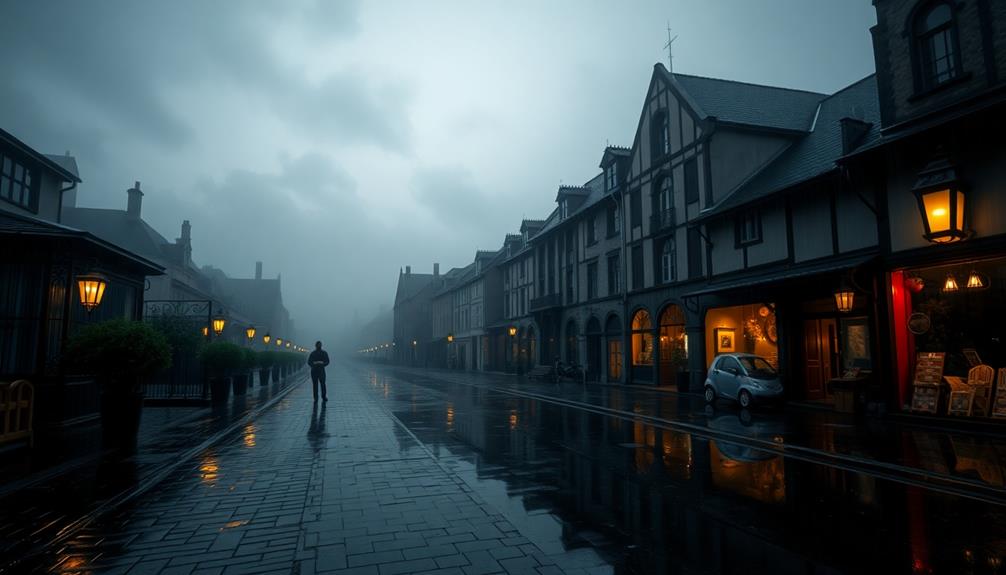
Post-processing is a powerful tool to enhance the atmospheric qualities of your travel photos taken in bad weather. Start by adjusting the contrast and highlights to bring out the texture of stormy skies or misty landscapes. You'll want to carefully manipulate the shadows to reveal hidden details without losing the moody ambiance. Experiment with color temperature, shifting towards cooler tones for a more dramatic effect or warmer hues for a softer, ethereal look. Don't shy away from using selective adjustments to emphasize certain elements, such as raindrops or fog. Consider applying subtle vignetting to draw the viewer's eye to the center of the image. For a cohesive look across your travel series, develop a consistent editing style that complements the weather conditions you've captured. Remember, the goal is to enhance the atmosphere without making the edits appear unnatural or overdone.
Frequently Asked Questions
How Do I Photograph Lightning Safely During a Storm?
To photograph lightning safely during a storm, you'll need to prioritize your safety first. Set up your camera on a tripod in a sheltered area, ideally indoors behind a window. Use a wide-angle lens and set your camera to manual mode with a low ISO, small aperture (f/8-f/11), and long exposure (10-30 seconds). Trigger the shutter remotely or use a cable release to avoid camera shake. Always stay away from open areas, tall objects, and water to minimize the risk of lightning strikes.
What's the Best Way to Capture Snow Without Overexposing the Image?
Like a delicate balancing act, capturing snow without overexposing requires finesse. You'll want to underexpose your shot slightly, as snow's brightness can fool your camera's meter. Use spot metering, focusing on the snow itself, and dial in -1 to -2 stops of exposure compensation. Keep your ISO low, around 100-200, to maintain detail. Shoot in RAW format for greater editing flexibility, and consider using a polarizing filter to reduce glare and enhance the snow's texture.
Can I Use a Smartphone for Professional-Quality Bad Weather Photography?
You can use a smartphone for professional-quality bad weather photography, but it requires skill and the right techniques. Modern smartphones offer advanced camera features, including manual controls and RAW image capture. To maximize results, use a tripod for stability, employ HDR mode for challenging lighting, and utilize weather-specific apps for forecasting. Consider investing in waterproof cases and lens attachments to enhance your phone's capabilities. With practice and proper post-processing, you can achieve impressive results comparable to those from dedicated cameras.
How Do I Prevent Lens Flare When Shooting in Misty Conditions?
Ironically, the misty conditions you're trying to capture can be your worst enemy when it comes to lens flare. To prevent it, you'll want to use a lens hood, which blocks stray light from entering the lens. If you don't have one, try shielding the lens with your hand or a piece of cardboard. Additionally, clean your lens thoroughly before shooting, as water droplets can exacerbate flare. Adjust your angle relative to the light source, and consider using a polarizing filter to reduce glare.
What Are Some Creative Ways to Photograph Rainbows After a Storm?
To capture striking rainbow photos after a storm, you'll want to experiment with various techniques. Try using a polarizing filter to enhance the rainbow's colors and contrast against the sky. Position yourself at a 42-degree angle from the rainbow for ideal visibility. Include interesting foreground elements, such as reflections in puddles or silhouetted landscapes, to add depth. Don't forget to experiment with wide-angle and telephoto lenses for different perspectives. If possible, use a tripod to guarantee sharp images, especially in low-light conditions.
